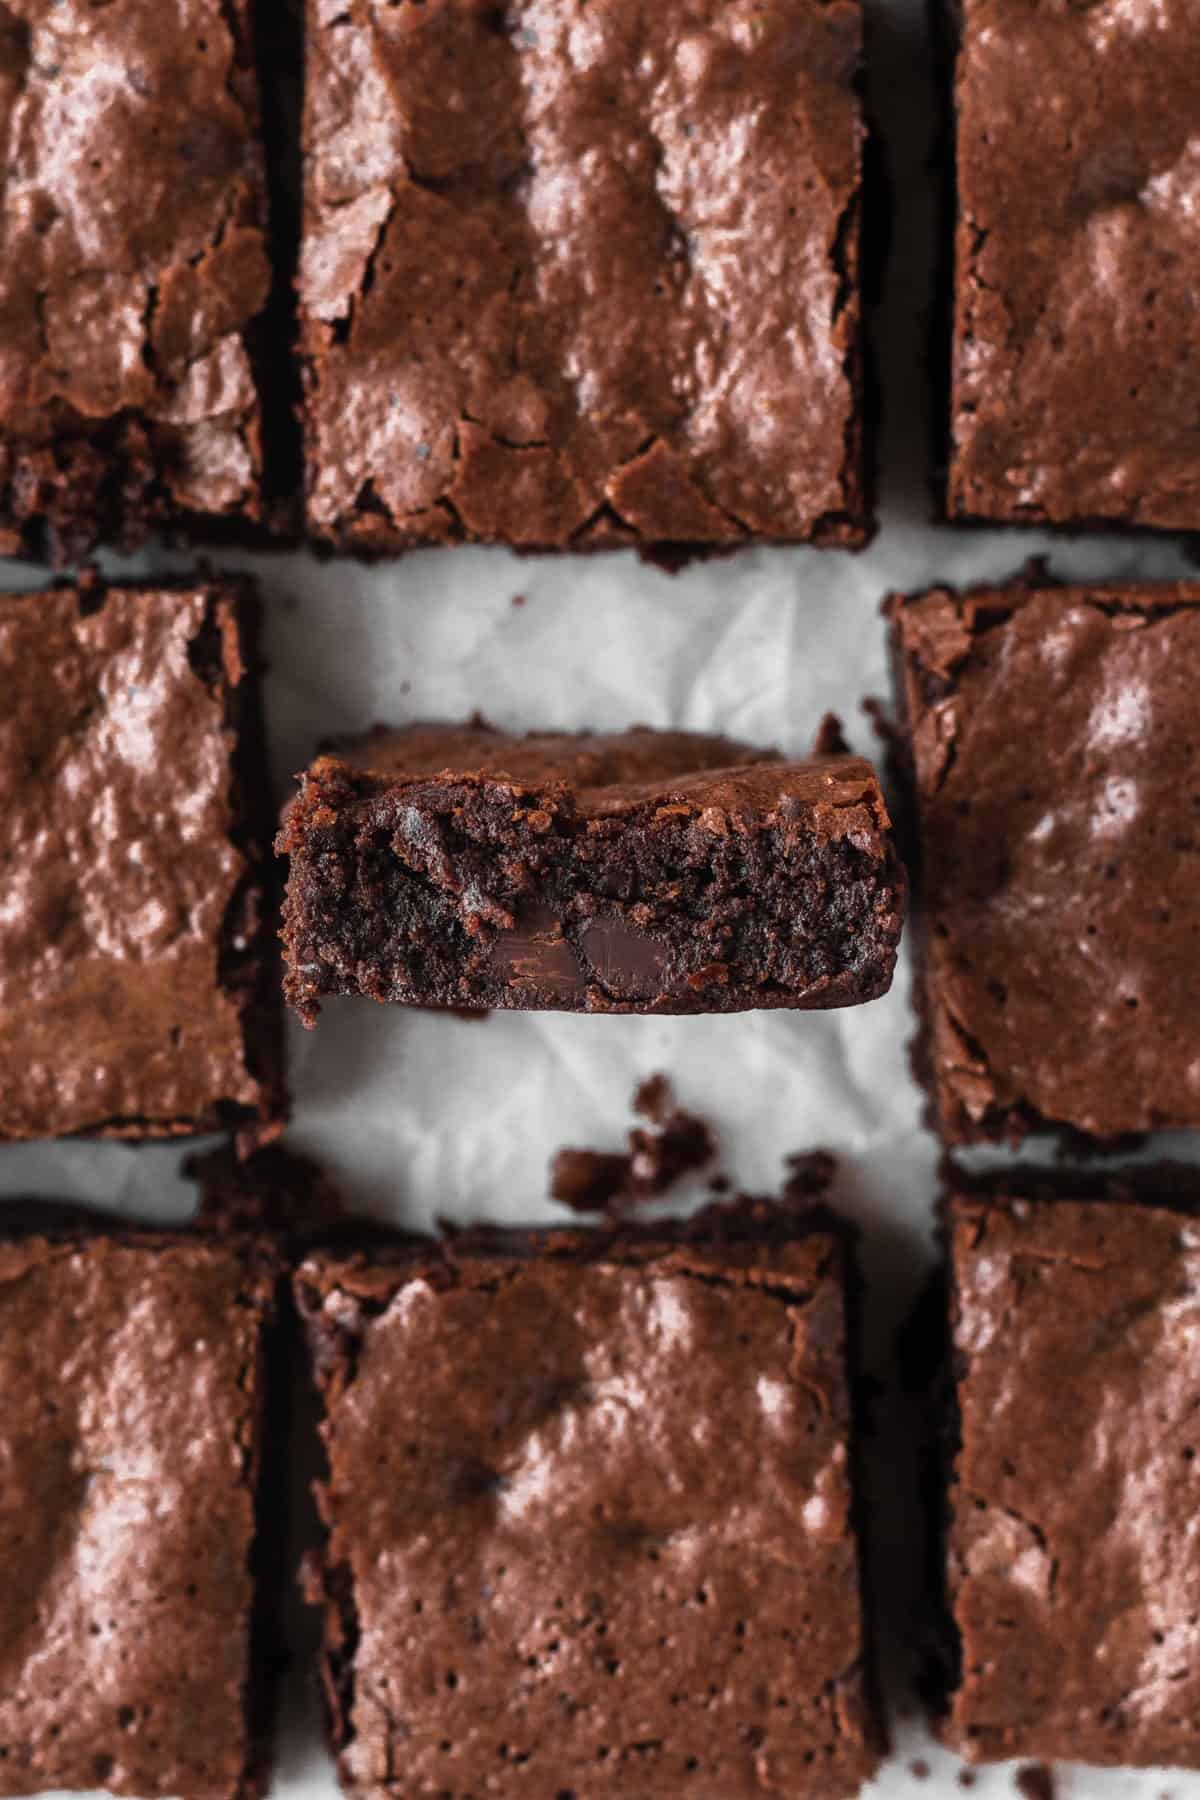
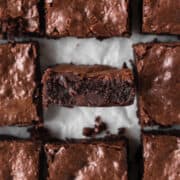
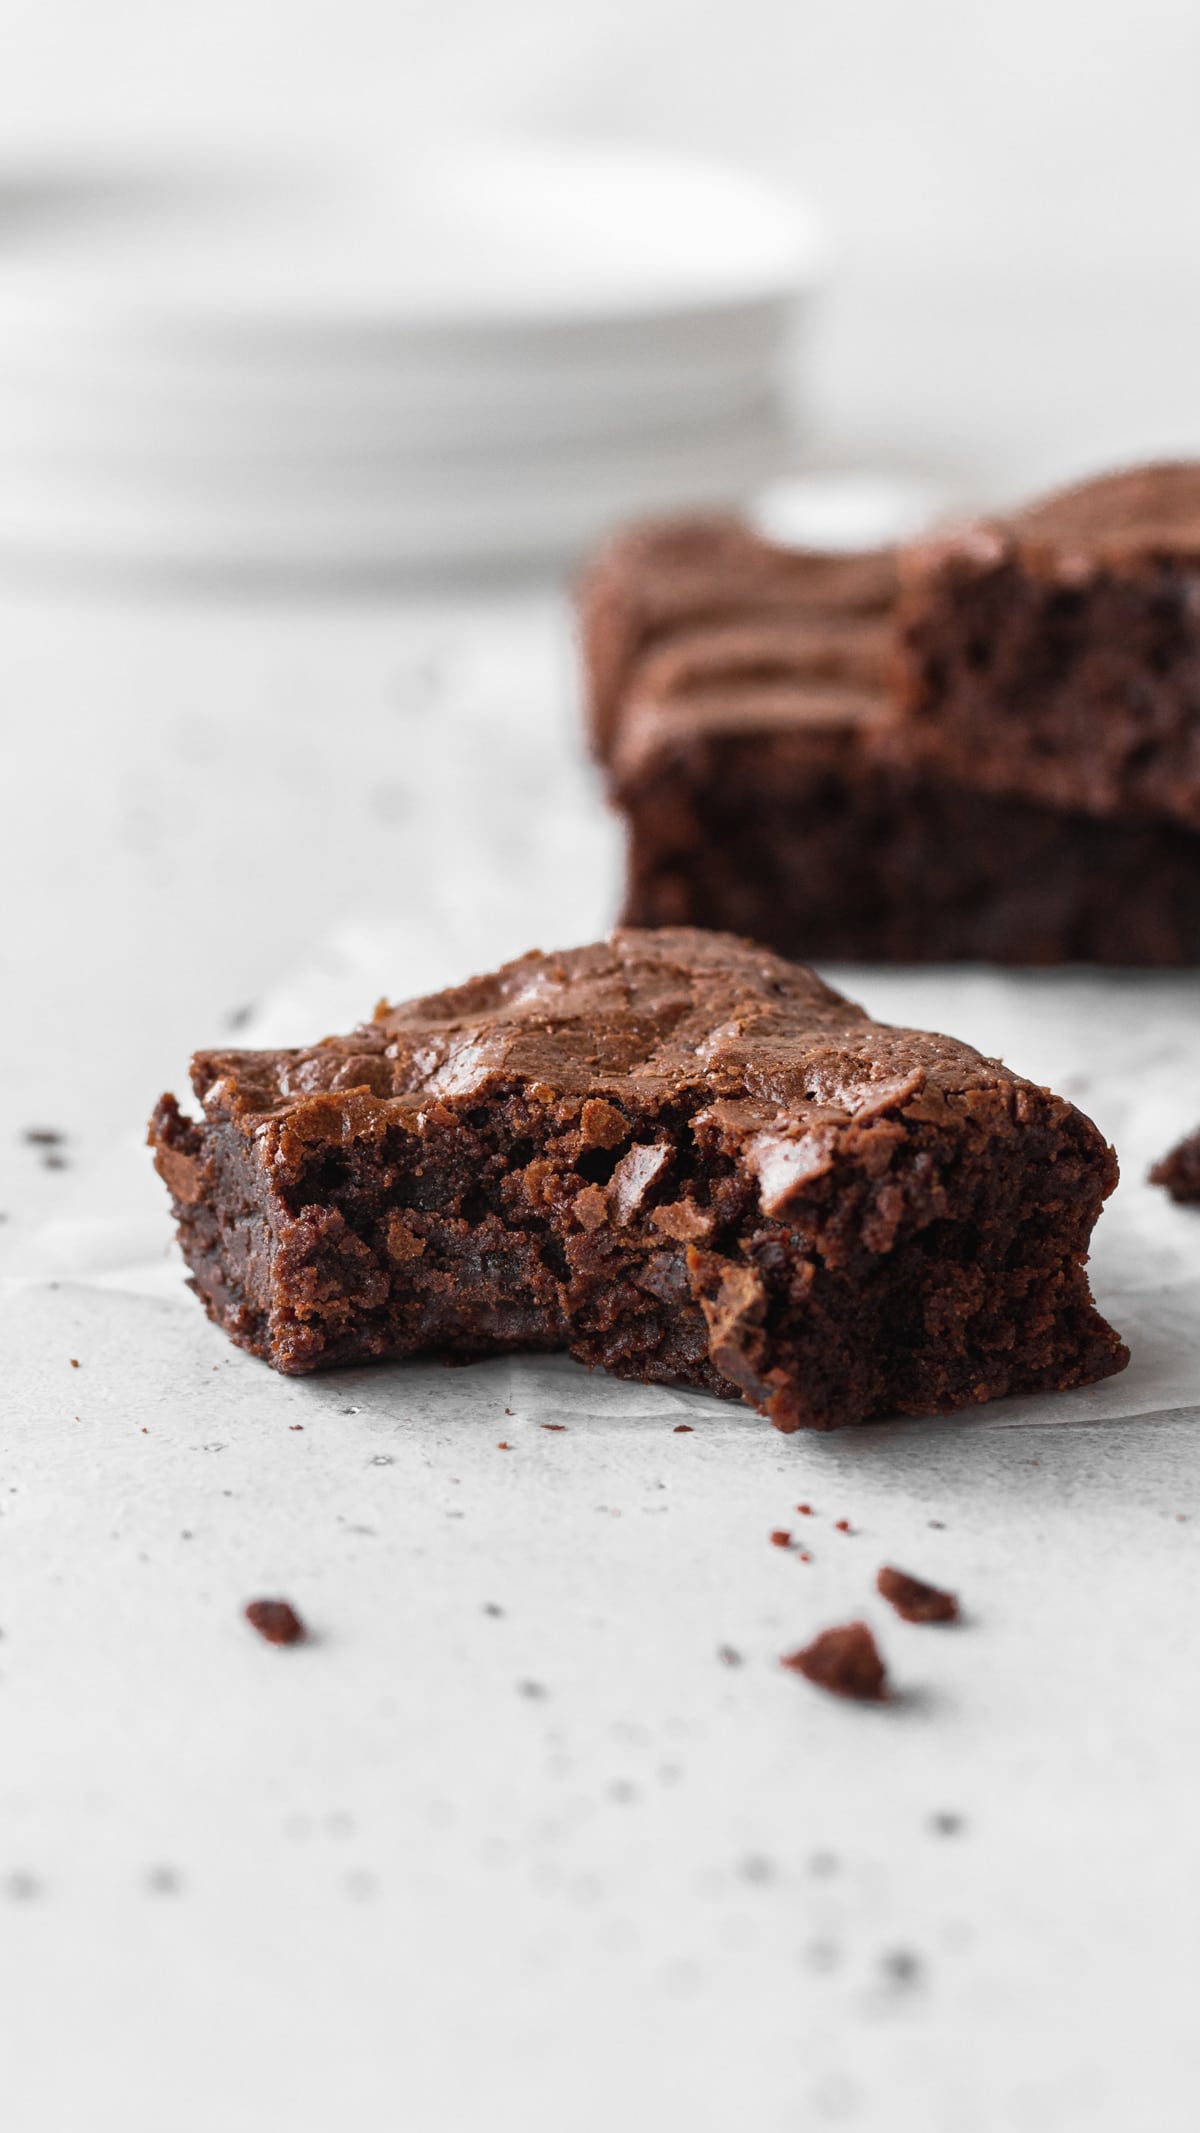
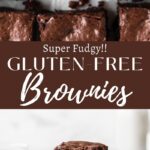
These gluten-free brownies are thick, chocolatey, and unbelievably fudgy, with a perfect crinkly top. My one-bowl recipe uses melted butter and dark chocolate for a rich chocolate flavor, and comes together in just over an hour.
I’ve tested and perfected this recipe through many batches to get the ideal balance between fudginess and a crisp, crinkly surface, all while keeping a sweet yet intense chocolate flavor. My goal was to create a gluten-free brownie that doesn't feel like a compromise—and I'm confident my recipe will become a go-to for you.
This recipe was originally published on October 13, 2022. It was updated with new information on September 13, 2025.
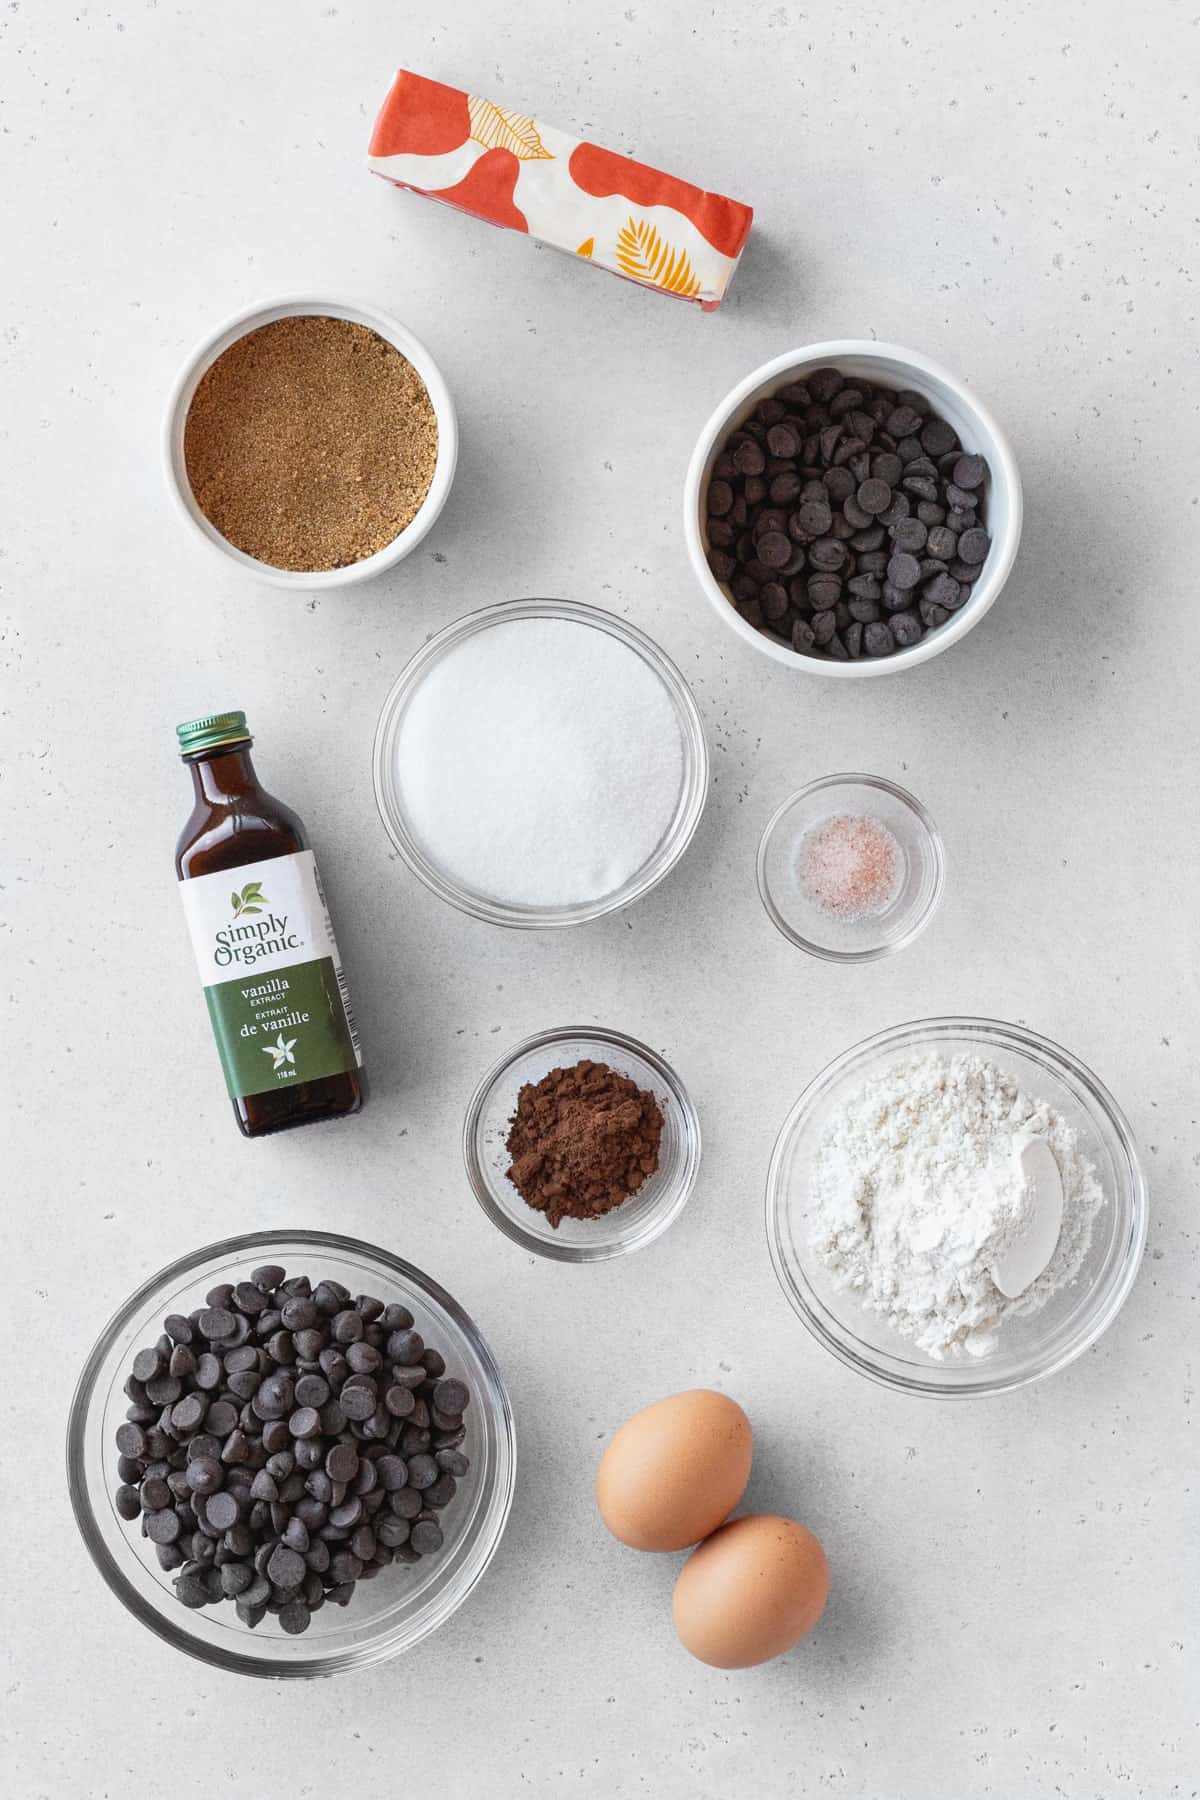
Ingredient Notes
Here are the ingredients you’ll need to make this recipe:
Butter - Adds both richness, flavor, and a fudginess to your brownies. Both dairy and vegan butter work well!
Dark chocolate & Cocoa powder - A combination of chocolate and cocoa powder add a strong chocolate flavor to the brownies. Choose chocolate that’s around 70% cacao to get a deep flavor. I love the flavor and color of Dutch-processed cocoa powder, but natural cocoa powder or black cocoa powder will work as well.
Sugars - This recipe uses a combination of granulated sugar and brown sugar. When the granulated sugar dissolves in the hot melted butter and chocolate, it helps produce that classic shiny top. Brown sugar, on the other hand, adds a subtle molasses flavor and makes the brownies fudgier and denser. Feel free to use light brown sugar here if you don’t have dark brown sugar.
Large eggs - Large eggs contain more liquid and fat, so it adds moisture to your brownie batter. Let your eggs come to room temperature so they’re easier to mix into the batter.
Vanilla extract - To enhance the sweetness of the chocolate. Use either pure vanilla extract or vanilla paste.
Instant coffee - While optional, I recommend adding a bit of coffee to enhance the chocolate flavor in these gluten-free fudge brownies. Feel free to use regular or decaf instant coffee or instant espresso.
Gluten-free 1-to-1 flour blend - I prefer using Bob’s Red Mill 1-to-1 Baking Flour, but any cup-for-cup all-purpose gluten-free flour blend should work. Just make sure that it includes xanthan gum for structure. Check out my post all about gluten-free flours to learn more.
Salt - To balance the sweetness and bring out all the flavors. Use fine sea salt or fine Himalayan pink salt. If you’re using a different type of salt, refer to this conversion chart for proper measurement.
Chocolate Chips - Do add a bite of melty chocolate in every bite. Feel free to use semisweet, white, dark, or milk chocolate depending on your preferences.
How To Make Gluten-Free Brownies
Making my homemade gluten-free brownies is easy peasy. Here’s how it’s done:
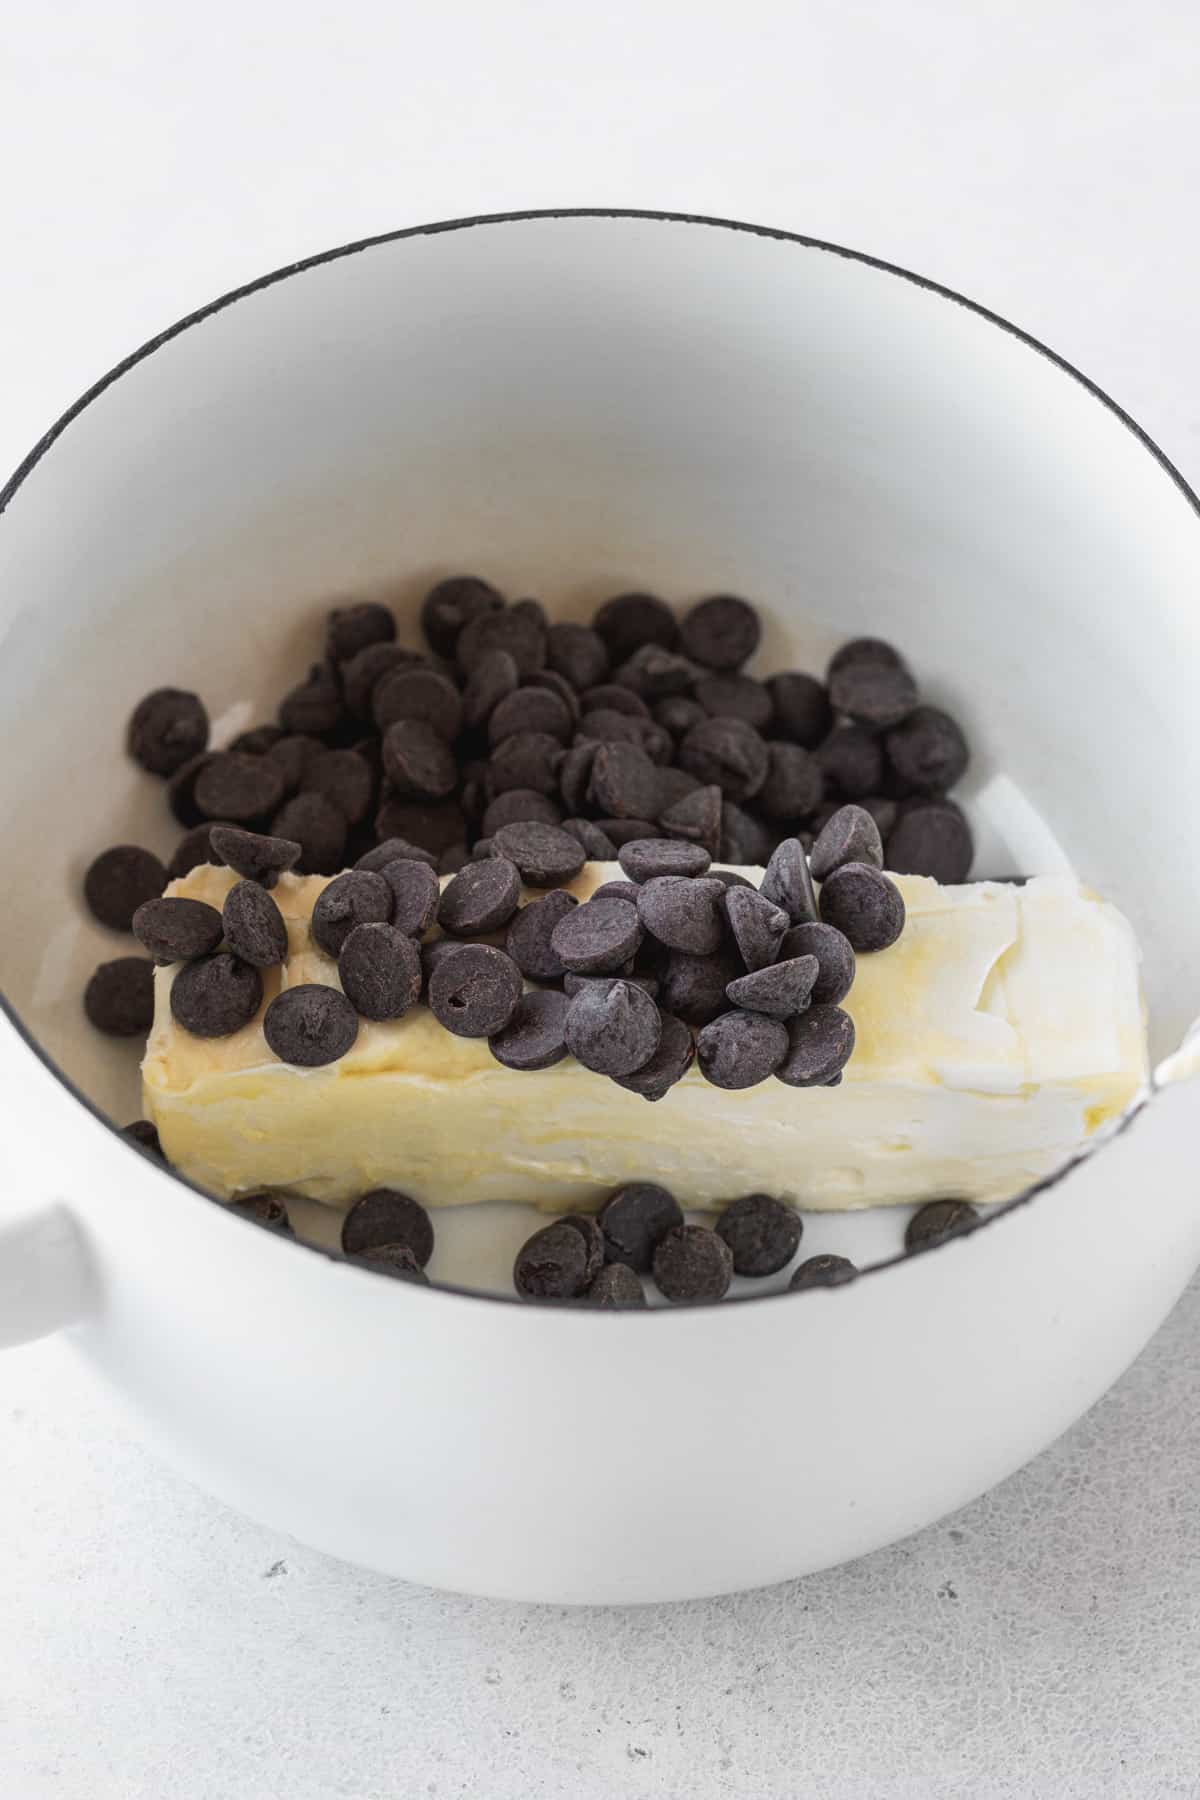
In a small saucepan over low heat, gently melt the butter and chocolate. Stir consistently to prevent burning, and watch them transform into a smooth, glossy liquid. Once melted, take the saucepan off the heat.
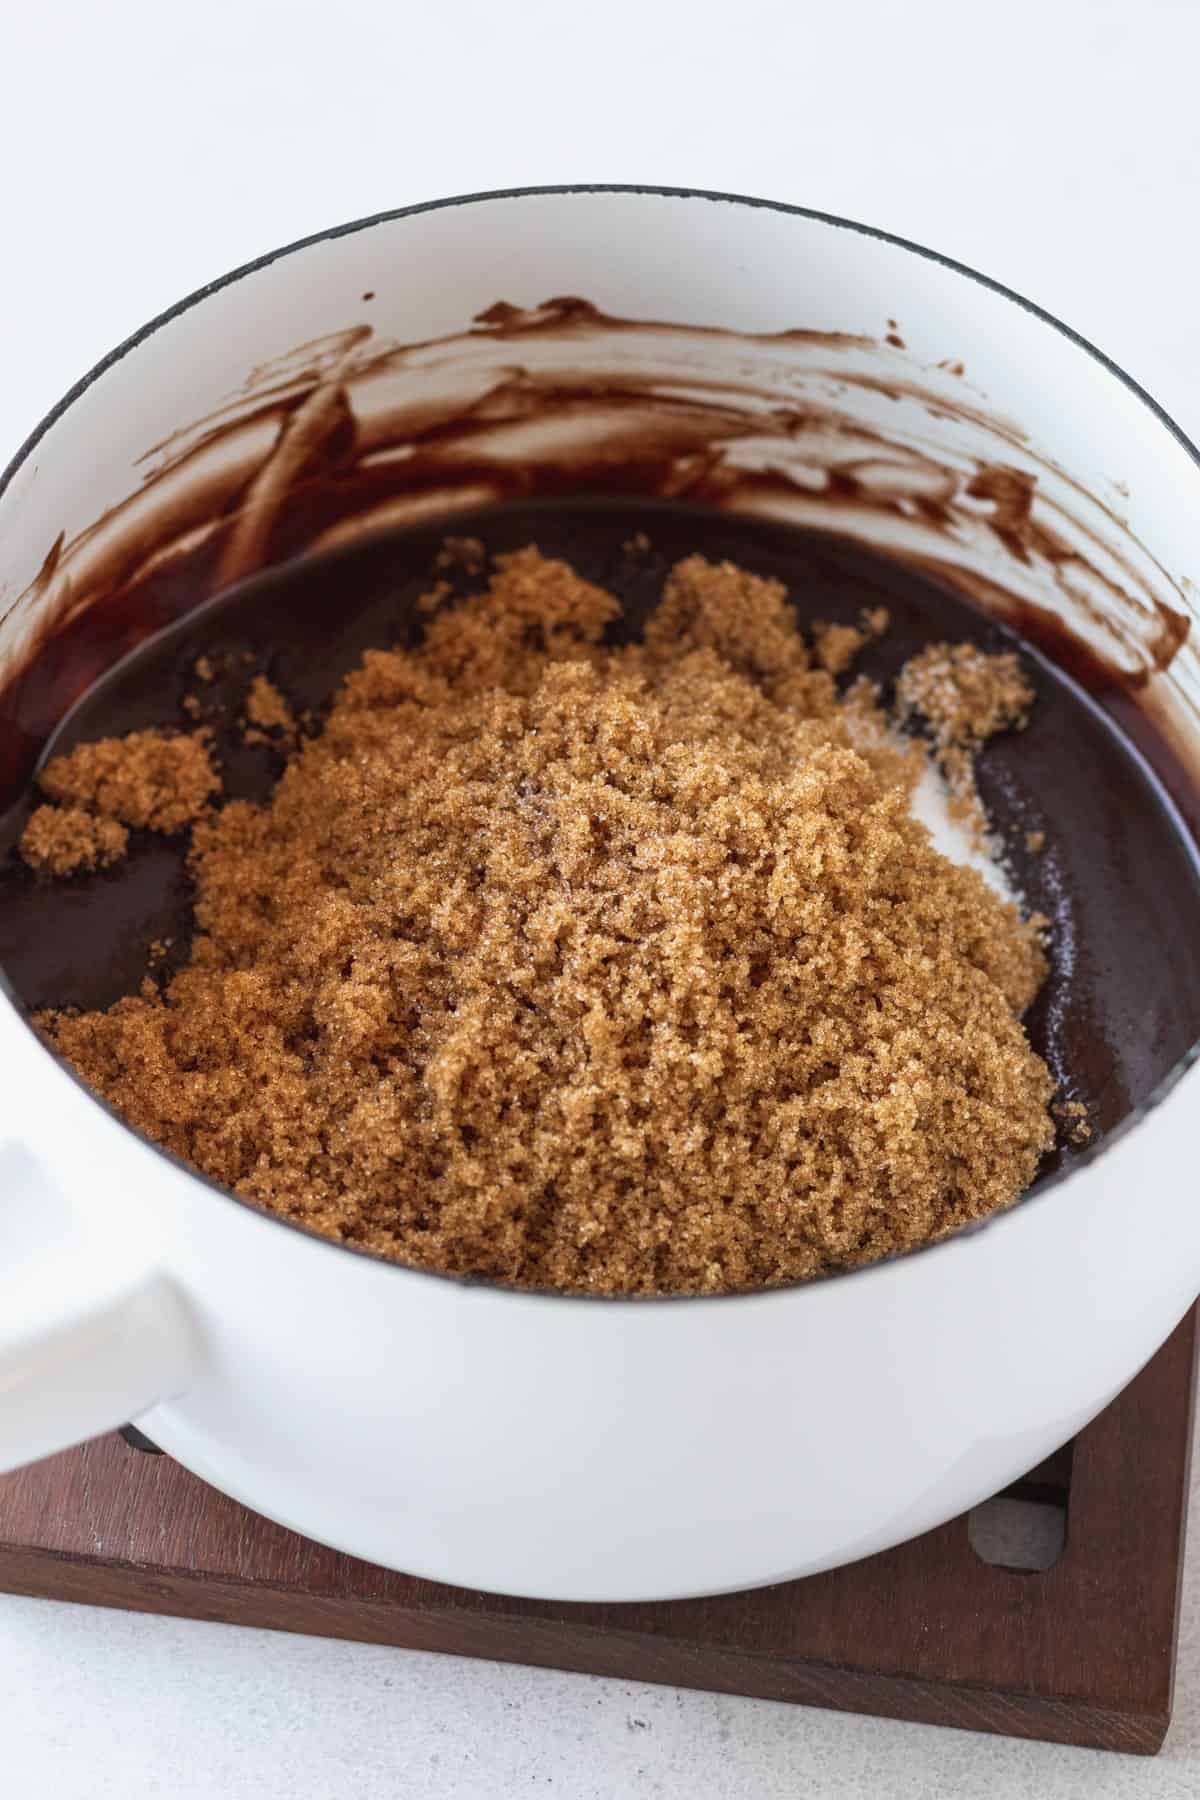
To the liquid, add the granulated sugar, brown sugar, cocoa powder, and whisk together until it’s combined. Letting the sugar melt into the hot chocolate mixture is what creates that shiny, crinkly surface on the brownies. The cocoa powder is also added now so it can bloom in the hot chocolate—it draws out the rich flavors. Whisk in one egg at a time, followed by the vanilla and instant coffee.
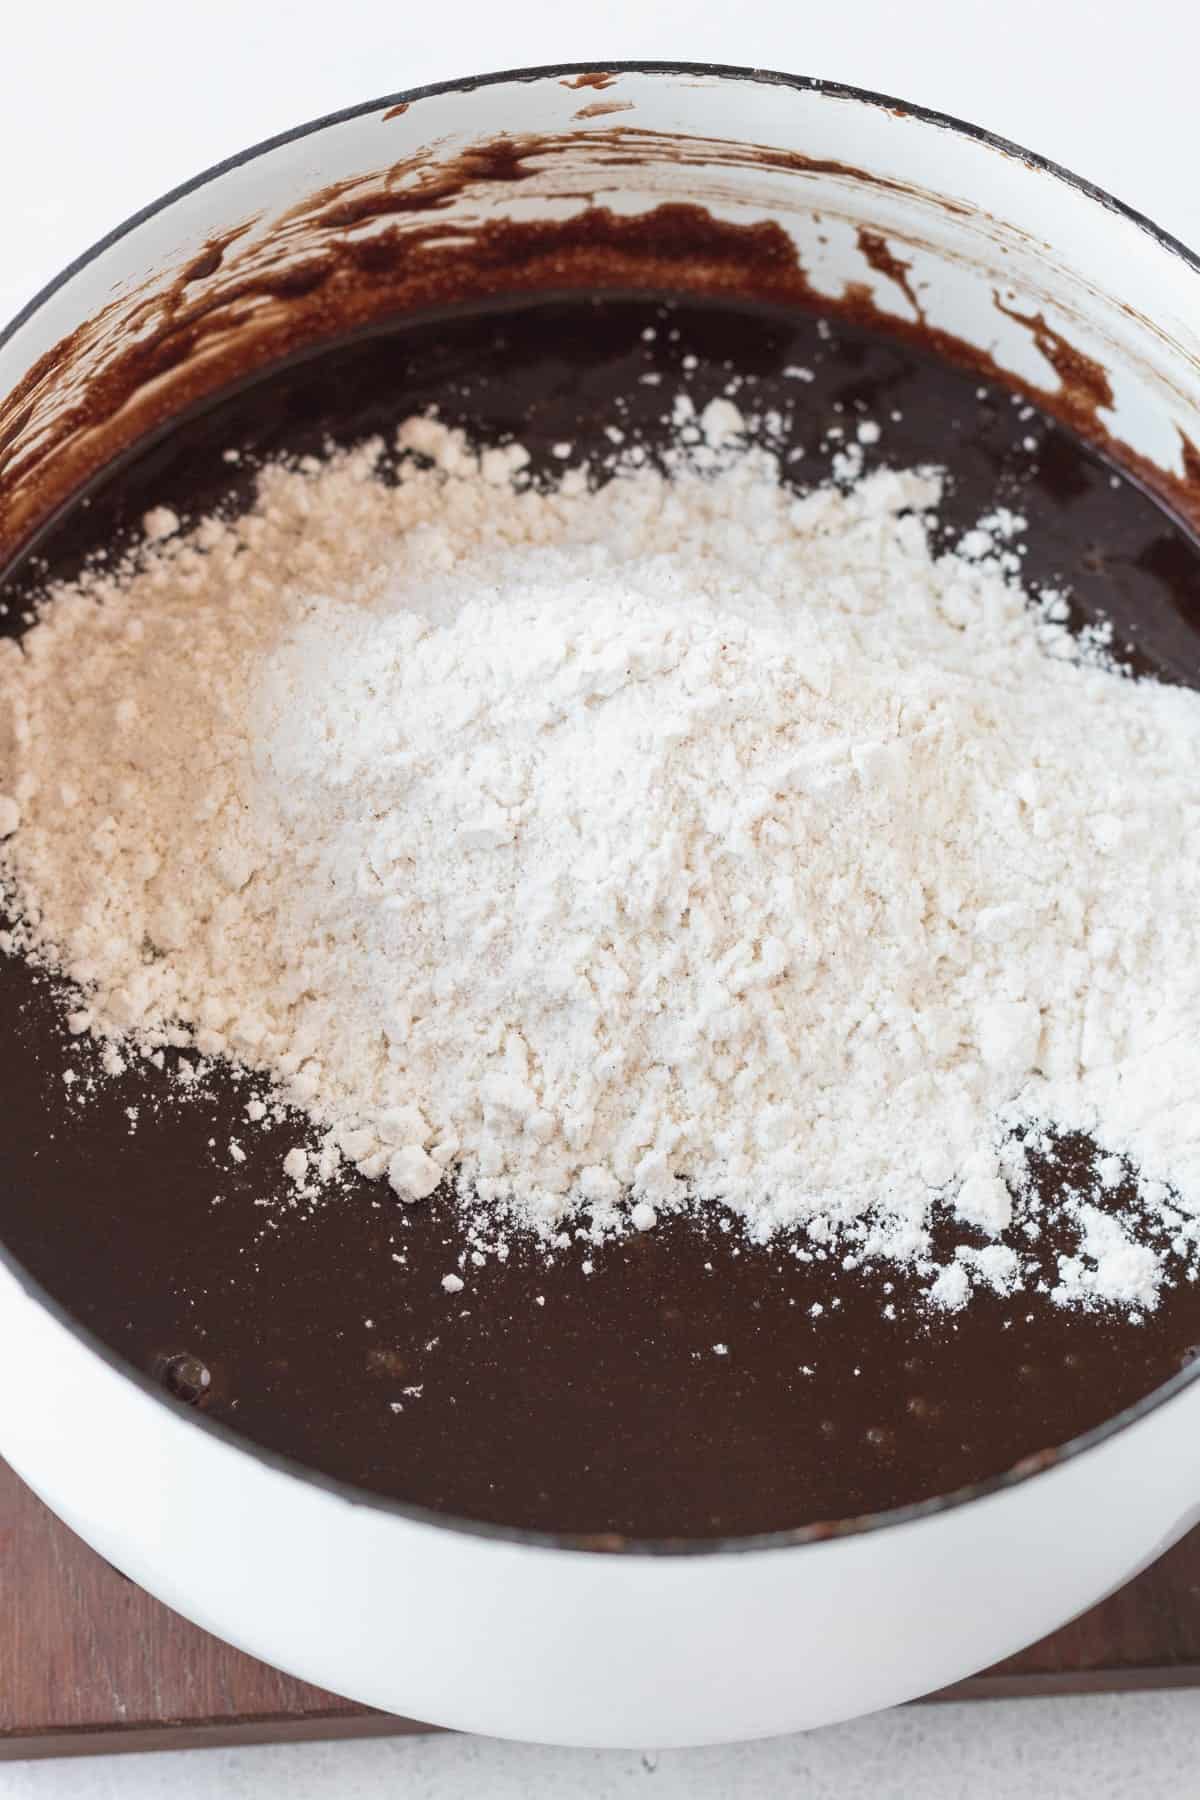
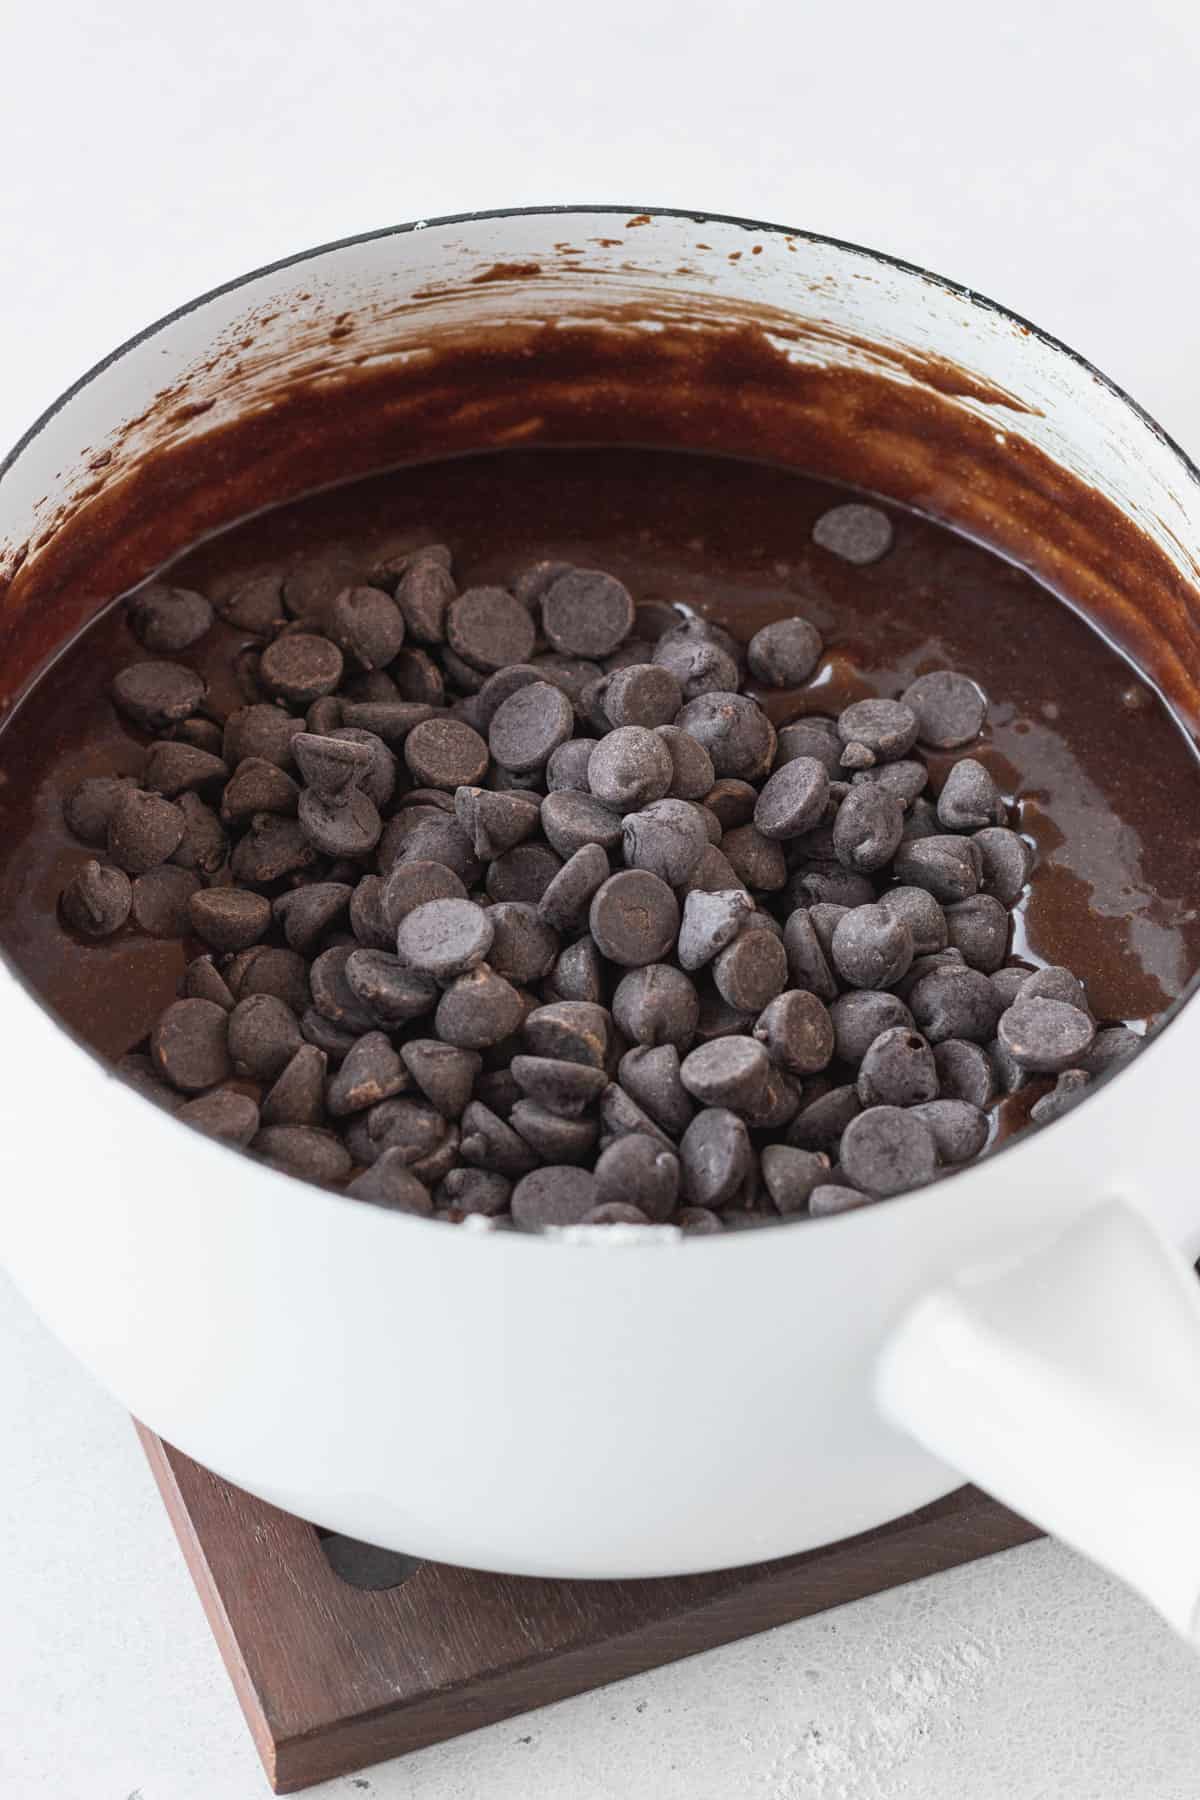
Add the gluten-free flour blend and fine salt, and stir the batter until it becomes smooth. Switch to a spatula and mix in the chocolate chips. Set the saucepan aside to let the batter rest for 20 minutes to allow the gluten-free flour to fully hydrate and prevent any grainy textures in the baked brownies.
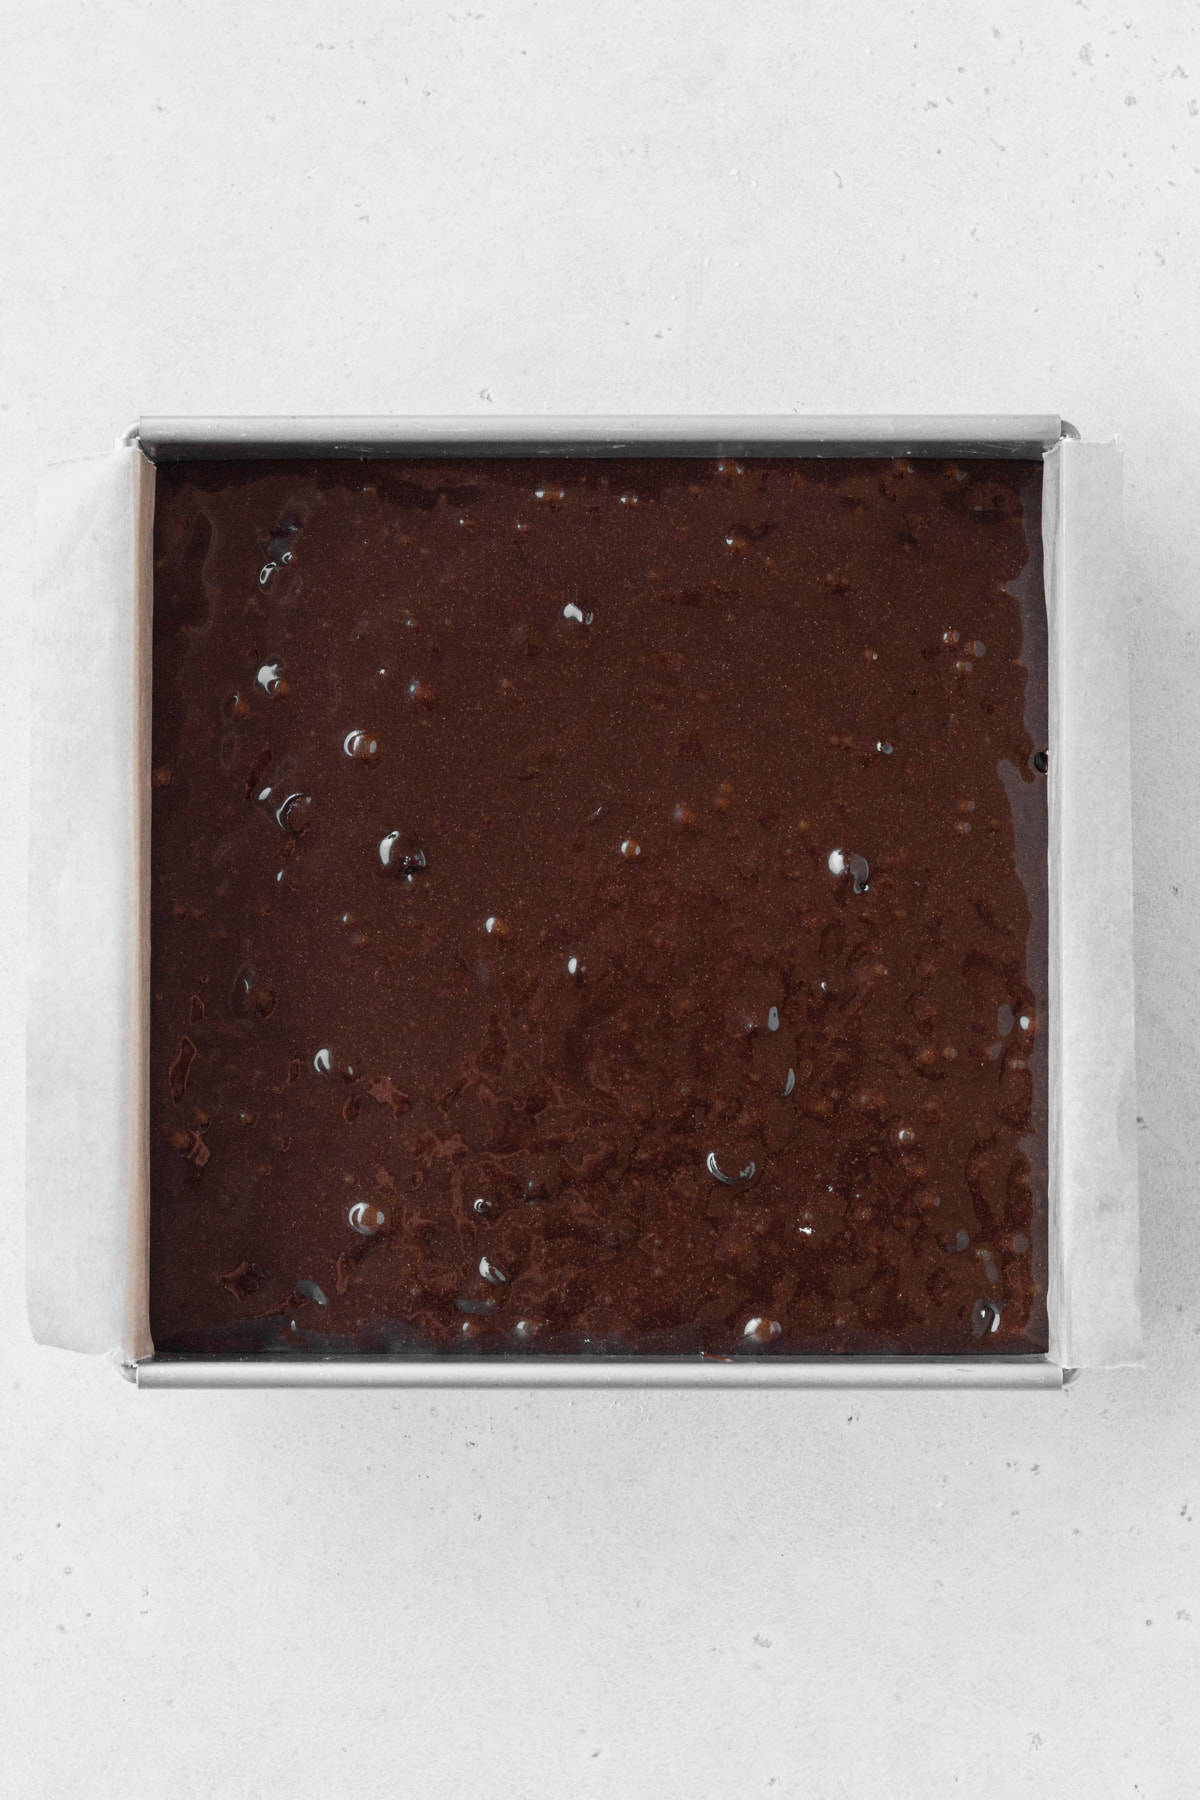
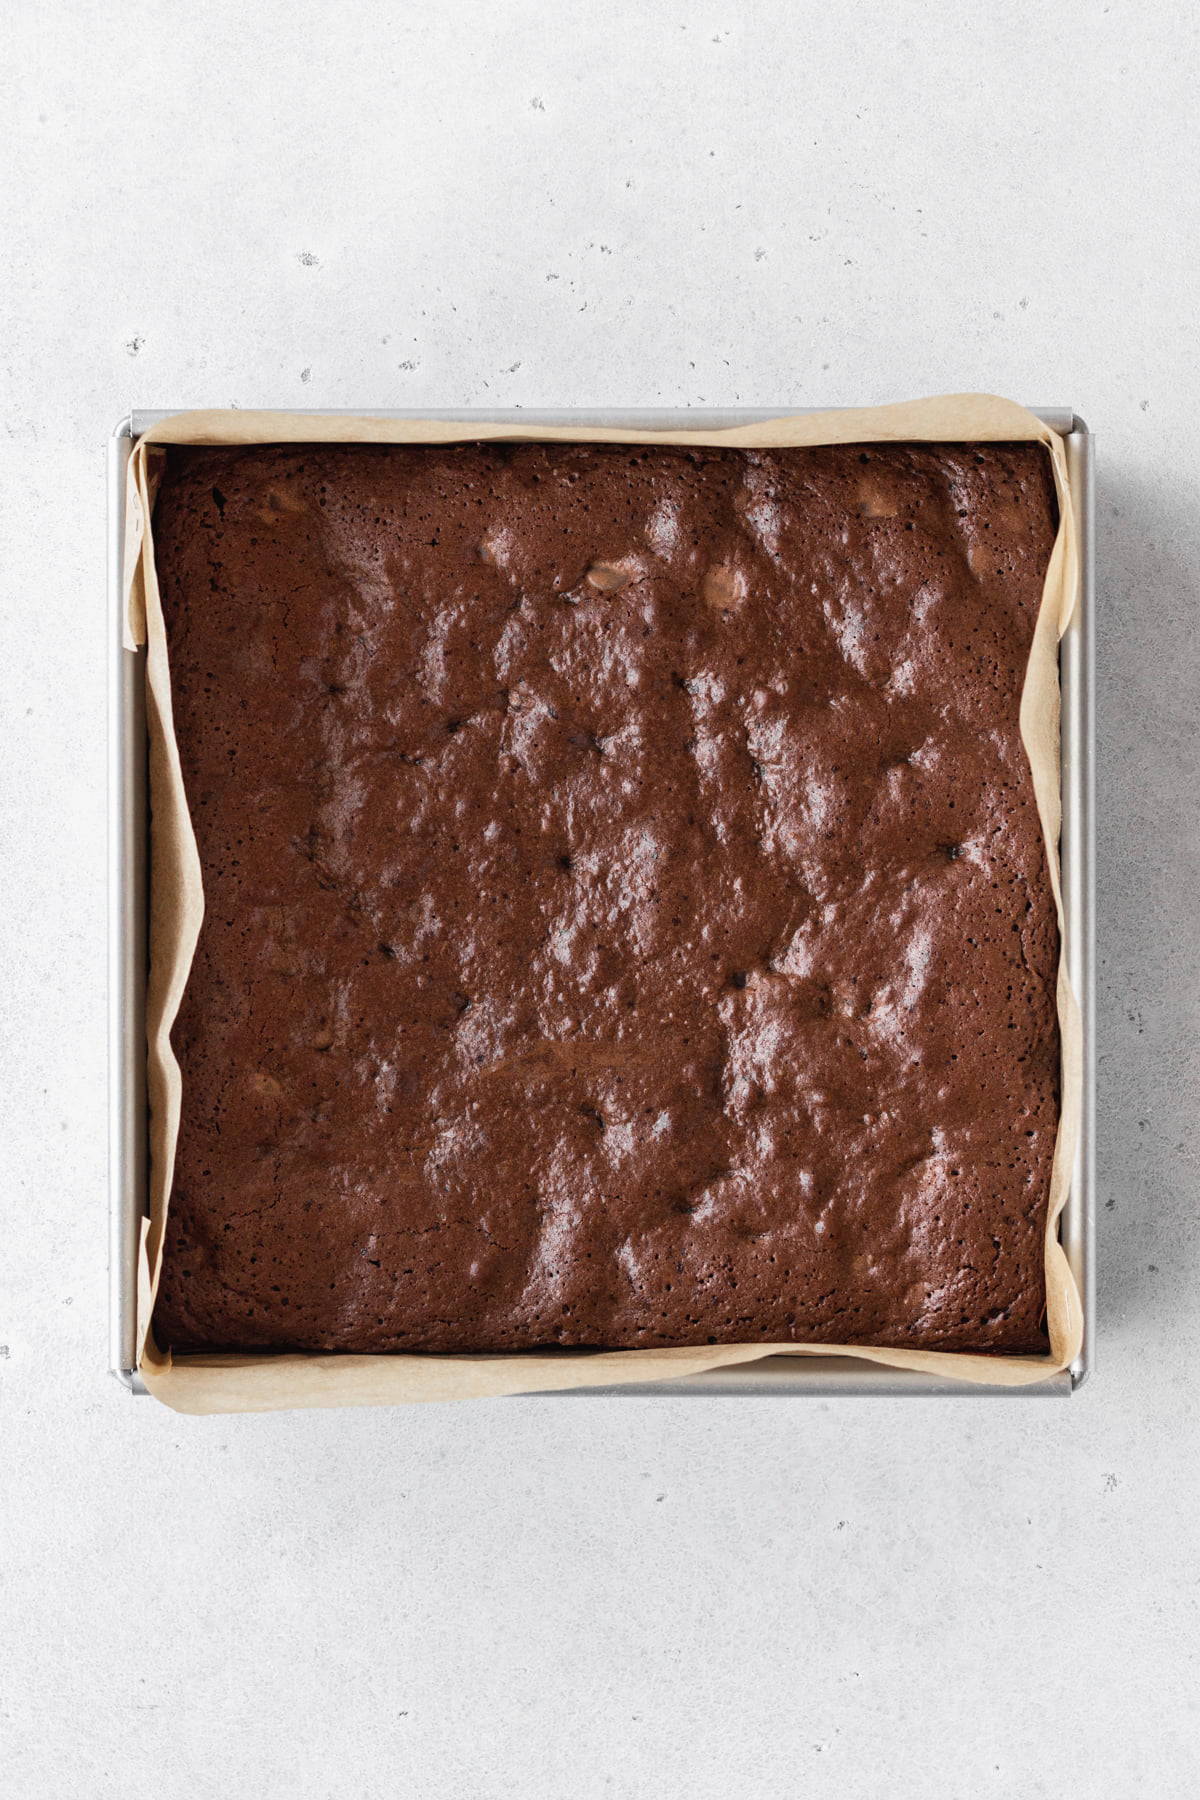
As the brownie batter rests, you can preheat your oven and prepare your pan. Grease and line a square pan with parchment paper for easy removal. Pour the rested brownie batter into the pan and bake for 30 minutes. Your kitchen should smell absolutely amazing! The brownies are done when a toothpick inserted into the center comes out clean, or with a couple of moist crumbs.
How do I prevent my brownies from sinking?
As soon as the brownies come out of the oven, run a knife along the sides of the brownies—between the brownies and parchment paper. This simple step releases the brownies from the parchment and helps them maintain their perfect shape.
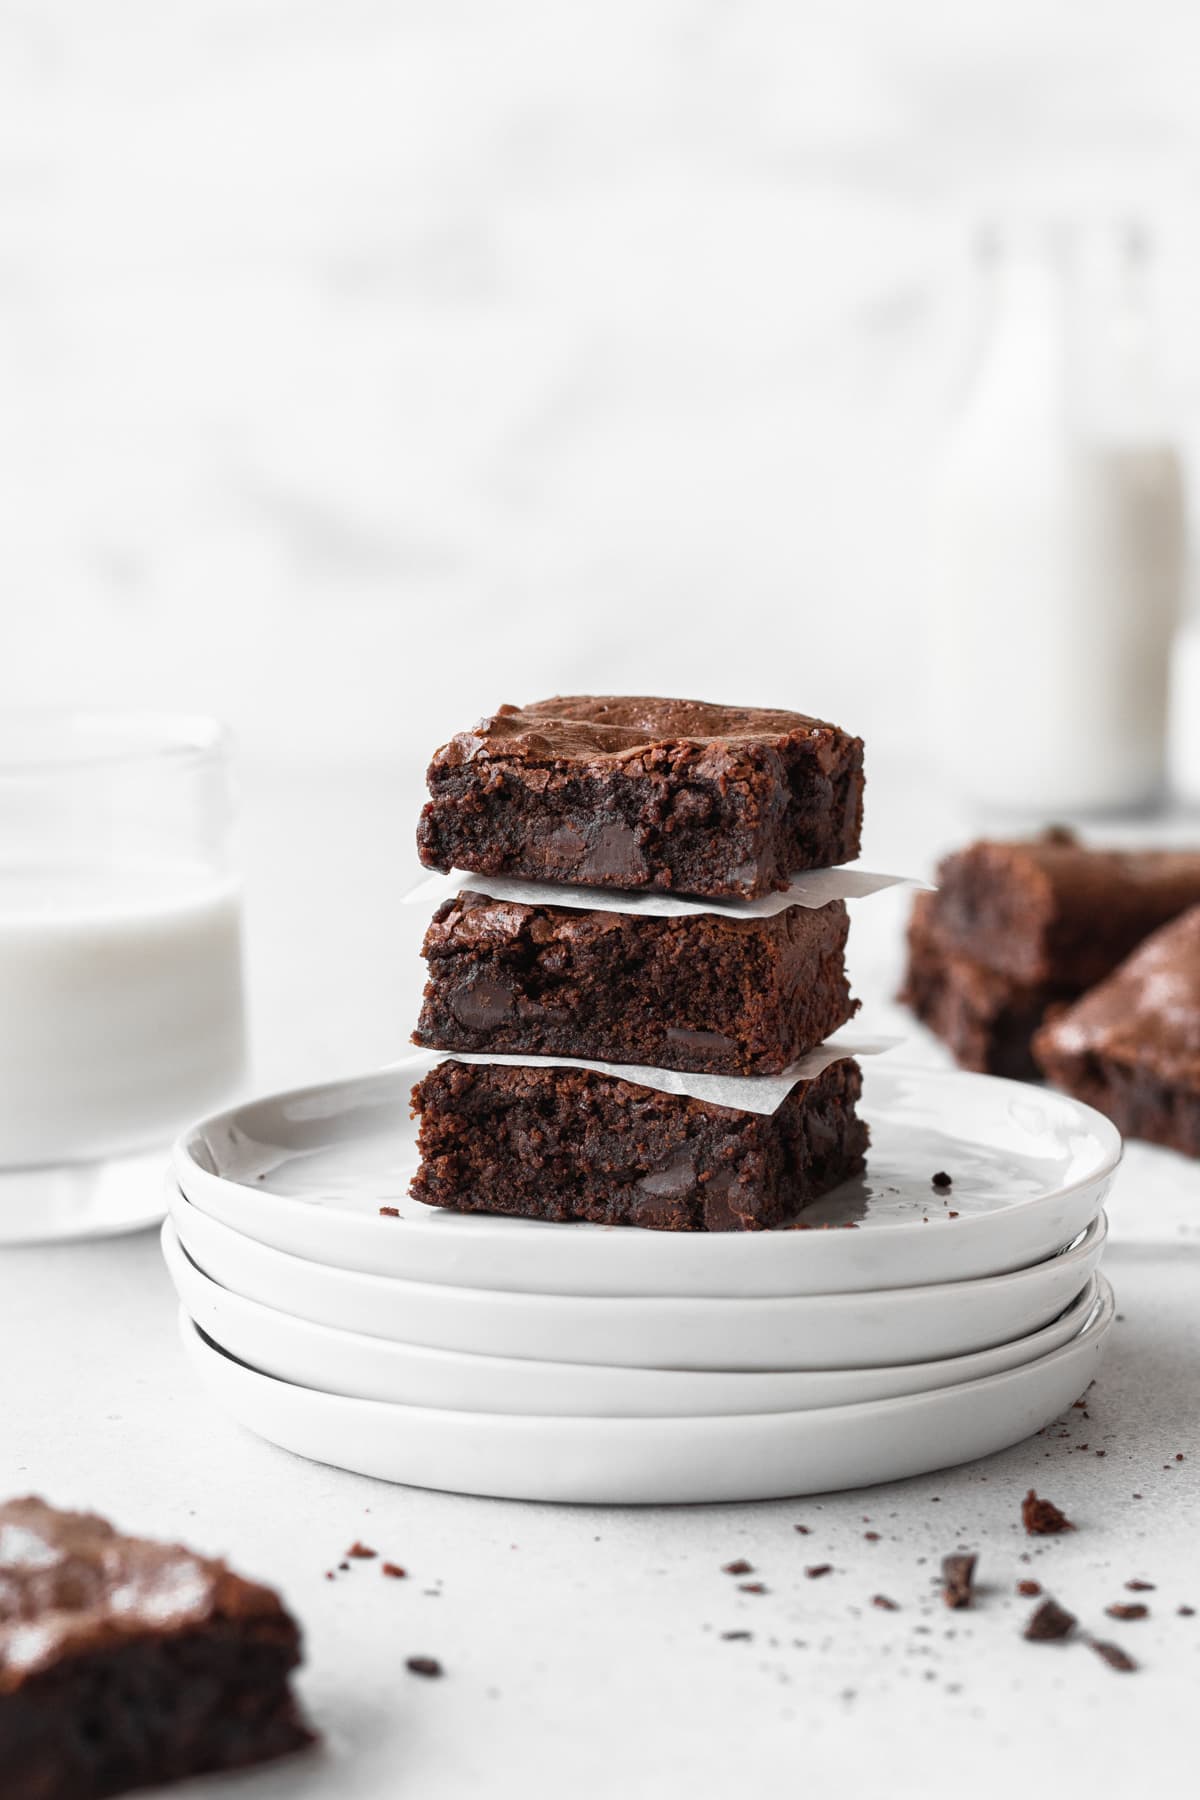
The hardest part is letting them cool completely before slicing, but trust me, it’s worth the wait for that perfect fudgy texture!
Tips for the Best Gluten-Free Brownies
Here are some tips that’ll make these brownies the BEST gluten-free brownies every single time:
Use the right pan. I highly recommend using a light metal square baking pan, because it conducts heat so much better than a dark metal pan or a glass pan, so the brownies will bake evenly without burning the sides and bottom. Use an 8x8 inch square pan like me for thick brownies.
Cool completely. Gluten-free baked goods will continue to cook through as they cool, so you mustn't cut into it while they’re hot. Your hot brownies may feel mushy rather than fudgy.
Use a clean, wet knife to cut. Using a damp knife helps keep the brownies from sticking to the knife. Wipe and re-dampen the knife between each cut for nice, clean edges.
Gluten-Free Brownie Recipe
Ingredients
- ½ cup butter regular or vegan
- ½ cup dark chocolate chips or chopped
- ½ cup granulated sugar
- ½ cup packed brown sugar
- 2 large eggs
- 1 tablespoon pure cocoa powder
- 1½ teaspoon vanilla extract
- ½ teaspoon instant coffee (optional)
- ½ cup gluten-free 1-to-1 flour blend (with xanthan gum)
- ½ teaspoon fine salt
- ⅔ cup chocolate chips
Instructions
- In a small pot, melt together butter and dark chocolate. Stir consistently to avoid burning. Once they’re completely melted, take the pot off the heat.
- Add the granulated sugar, brown sugar, cocoa powder, and whisk together until it’s combined. Add the egg one at a time, mixing after each addition.
- Add the vanilla extract and instant coffee granules and mix until combined.
- In a small bowl, mix together gluten-free flour blend and fine salt. Add the mixture to the pot and mix the batter until smooth.
- Switch to a spatula or wooden spoon and mix in the chocolate chips. Set the pot aside to let the batter rest for 20 minutes.
- While the batter rests, preheat the oven to 350°F (180°C). Grease and line an 8x8 inch square pan with parchment paper.
- Pour the rested brownie batter into the prepared pan and bake for 30 minutes. Once the brownies come out of the oven, run a knife along the sides (between the brownies and parchment paper) to prevent them from sinking in the center.
- Let the brownies cool completely before taking them out of the pan to cut and serve.
Nutrition
Storage Instructions
Storing: Store the brownies in an airtight container at room temperature or in the refrigerator for up to 3 days.
Freezing: You can also keep them in the freezer for up to 3 months. If freezing them, be sure to wrap each square with a couple of layers of plastic and then put them in an airtight container or freezer bag.
Gluten-Free Brownies FAQs
Yes, you can get creative with mix-ins to customize your brownies! Some ideas would be chopped toasted walnuts, toffee bits, and chopped pretzels. Check to make sure that the mix-ins you choose are also gluten-free.
You can double this recipe and bake it in a 9x13-inch pan. You may need to bake the brownies for longer.
I would check them after baking for 25 minutes to see if they’re done.
You can make gluten and dairy-free brownies simply by swapping out the butter for vegan butter sticks.
I don't recommend making this recipe egg-free. The eggs provide both moisture and structure to these brownies, so omitting them would make the brownies mushy.
Bob's Red Mill Gluten-Free 1-to-1 Baking Flour is my go-to for all of my baking! I also like the Cup4Cup Wholesome Flour, and King Arthur's Gluten Free Measure for Measure Flour. Whatever flour blend you choose, make sure it includes xanthan gum, which provides structure to your baked goods.
The chocolate chips add little bites of delicious melty chocolate when baked, but you can make this recipe without adding chocolate chips.
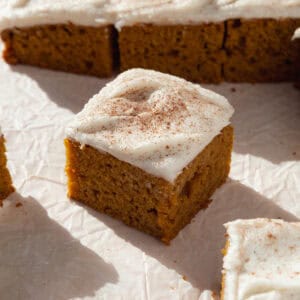
More Gluten-Free Dessert Recipes
If you love chocolate, this decadent gluten-free German chocolate cake or these gluten-free whoopie pies will be right up your alley!
This gluten-free coffee cake is one of my favorite cake recipes ever! It's soft, moist, and buttery, with a delicious cinnamon sugar layer and crumb topping.
You can't go wrong with these gluten-free sugar cookies. They're soft-baked with crisp bottoms, and they're perfect for decorating for any occasion!
These gluten-free chocolate chip cookies are classic for a reason! My almond flour chocolate chip cookies are no different—both recipes have the iconic crisp edges and soft chewy centers.
If you're baking cookies for the holidays, go with these gluten-free Christmas cookies. The soft and chewy texture with the vanilla mint flavor will wow everyone!

Stephanie Higgins says
Hi my name is Stephanie and I live in Port Charlotte Florida. I bought homemade coconut bars from a convenience store in another part of Florida about a year ago. When I went back to get more they were out and had no information as far as arecipe went and didn't know how to go about getting one. Is there any chance you may have a chewy coconut bar recipe? I'd be forever grateful.
Ai Willis says
Hi Stephanie, I don't have any chewy coconut bar recipes, but I'm happy to add it to my list of future recipes 🙂